Did you know that according to Allied Market Research, the roofing market in North America is expected to reach $47,517.8 million by 2025? This is because many North Americans are replacing, repairing, and shingling their roofs.
If you’re one of the Americans who’s decided to shingle your roof, then you probably have questions about how to shingle a roof.
You might be wondering how you need to prepare for this construction process, what the right technique is for laying shingles, and what steps you need to take to shingle a valley correctly.
It’s a lot to think about, in addition to figuring out how to budget for anything, so you may be feeling confused, frustrated, or stressed as a result.
That’s why we’ve put together this guide on how to shingle a roof: laying asphalt shingles. By giving you all the information you need, you’ll know how to shingle a roof every step of the way. Instead of feeling stressed or confused, you’ll be ready to shingle your roof.
Read on to learn more.
Shingling A Roof
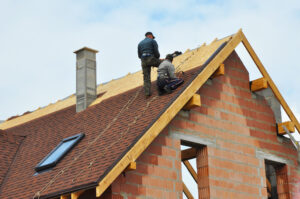
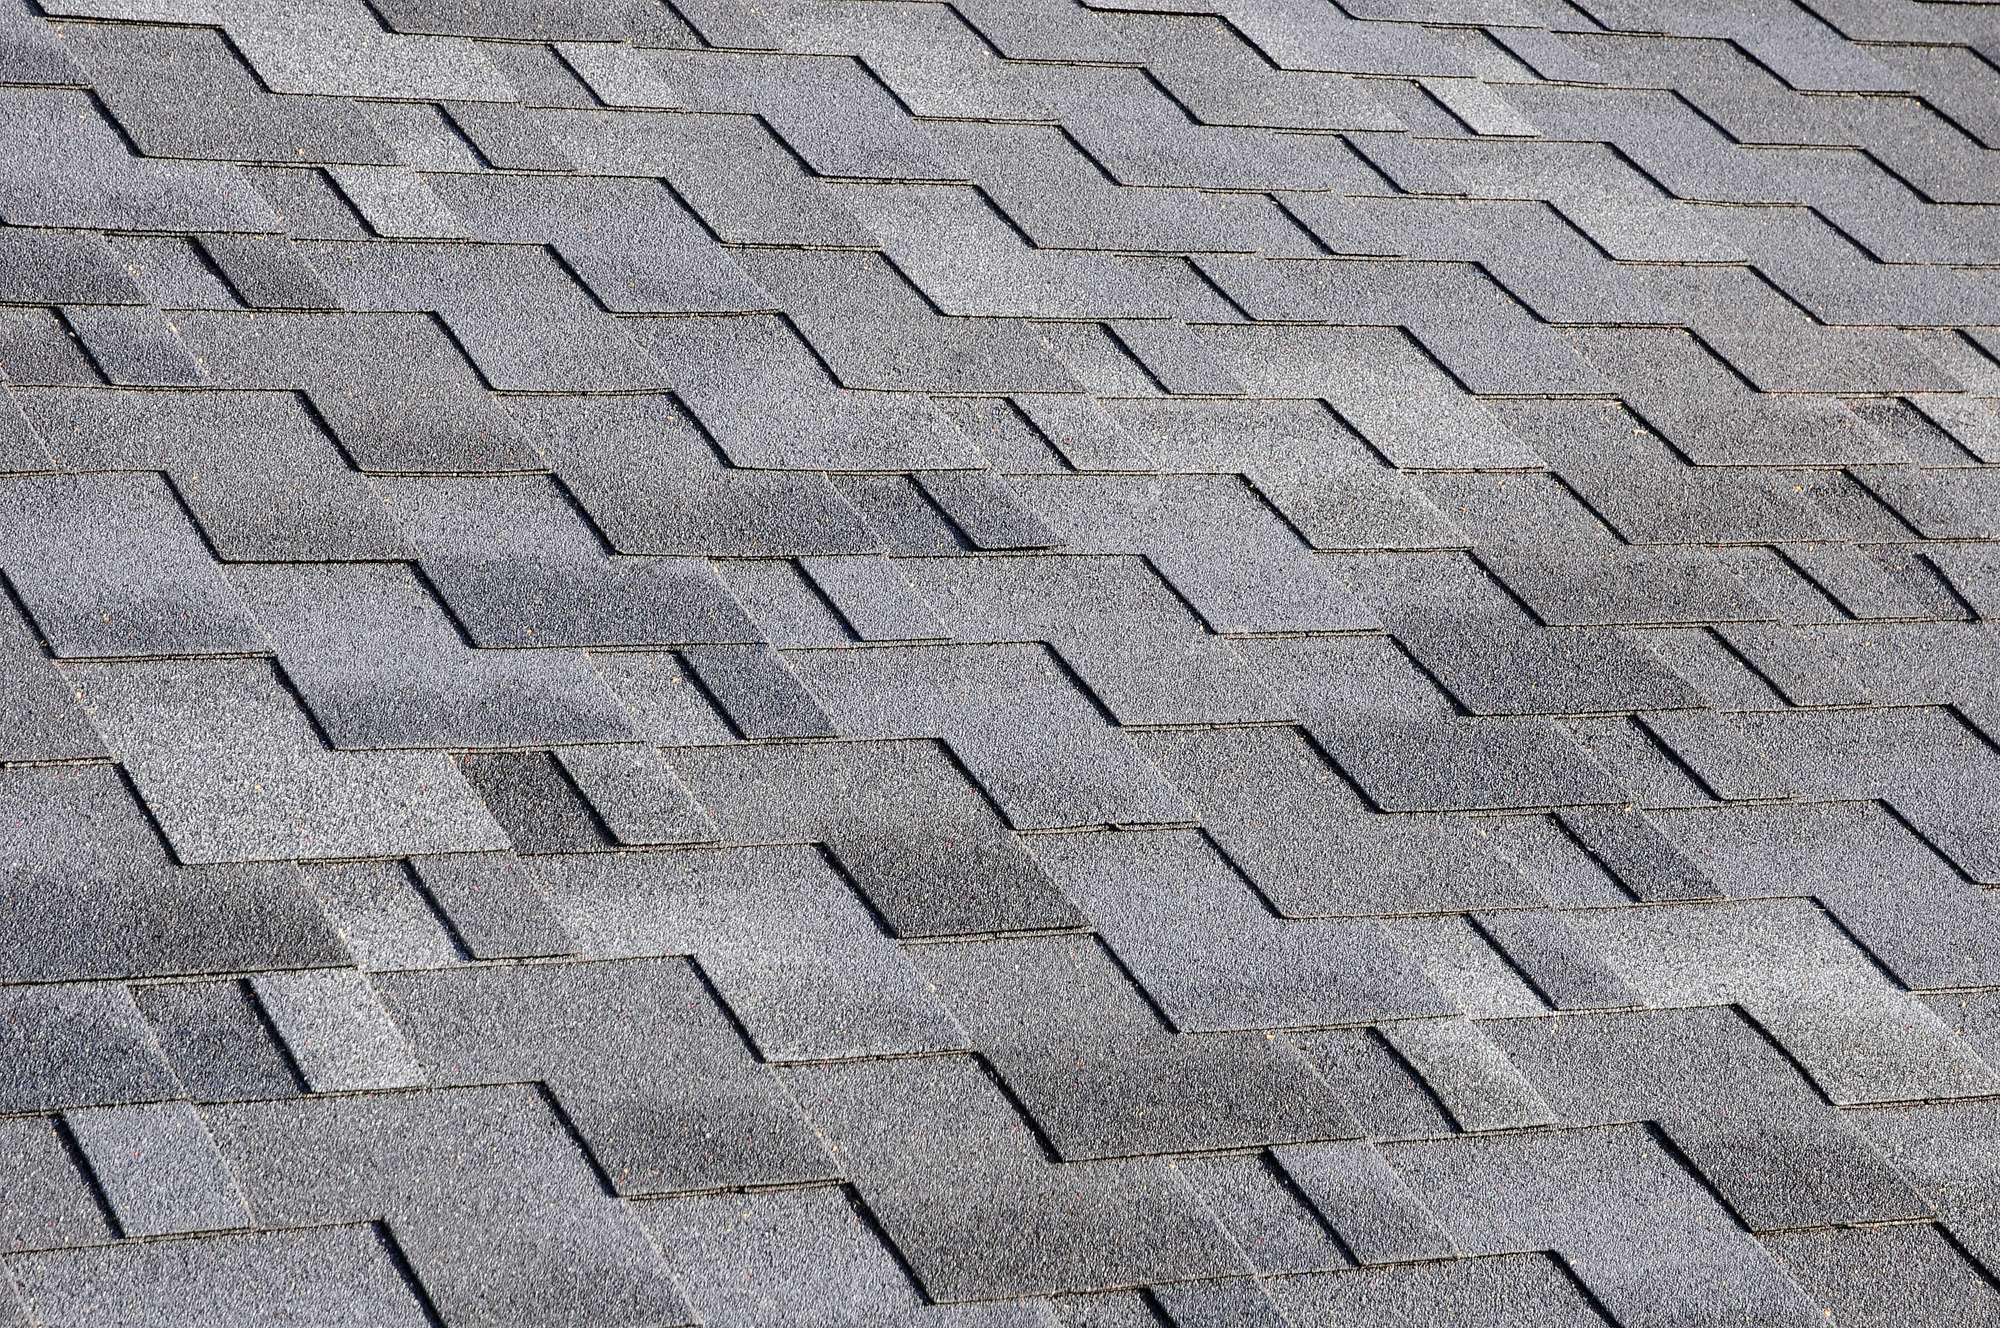
Compared to other home repairs and construction processes, shingling a roof is a pretty simple process. Once you get the hang of how to put down the shingles, you can start to enjoy it, getting into a rhythm as you improve your roof, protecting your home from floods and inclement weather.
However, there are a few things you want to keep in mind as you install roof shingles. The first is safety. Even though you’re doing a simple repair, you’ll still be up on a roof—and a fall could kill you or cause a serious injury.
In fact, roof fatalities made up one-third of fatal falls in US construction in a period of 18 years, according to a study published in the Journal of Safety Research.
So, if your roof is especially steep or high up, you’ll want to have a roofing expert do the shingling for you instead.
If it’s not too steep, however, just follow these guidelines while shingling: (1) ensure your ladder is sturdy and set up so it’s not out of balance at all, (2) never go backwards on your roof, and (3) have a friend with you, so they can spot you.
Have Your Shingles Delivered to the Roof
It’s also safer—and more convenient—to have your shingles delivered to the roof. When installing roof shingles, if you’ve bought new ones, most retailers will happily deliver them directly to your roof.
You’ll have to pay around $60 per pack of shingles, but it’s worth it, considering that you won’t have to carry them up yourself. If you’ve hired a roofing company to lay the shingles for you, ask them if this will be included in the price of the construction job.
Preparation Prior to Laying Shingles
When you shingle a roof, there’s some necessary preparation prior to laying shingles. Since you’re rebuilding a large part of it, you’ll first need to remove all the shingles that are there already.
You’ll also need to remove other parts of the roof, at least one layer and potentially another if there’s been any damages. If there’s any area that has rotted or been damaged in a storm, you’ll need to remove this too.
Otherwise, your new asphalt shingles won’t be doing the work they’re meant to.
However, if your shingles you have on the roof already are still working for the most part, then you can leave them there, simply layering the new shingles on top.
To remove shingles properly, you should use a shingle removal shovel. While you can use a prybar and hammer, this tool specifically designed for removing shingles will make your job easier, faster, and safer.
Once you’ve removed the shingles you need to, you’ll need to hammer in nails and remove any tar paper or felt that’s been damaged or worn away. Basically, an area that’s defective has to be removed.
Preparing to Shingle a Roof
Once you’ve done all of the above, it’s time to start laying asphalt shingles. This requires preparing to shingle the roof by cutting the tabs off from the shingles that will go in the first row you put down.
You can use a box cutter to cut the shingles during your asphalt shingle installation.
Laying Asphalt Shingles
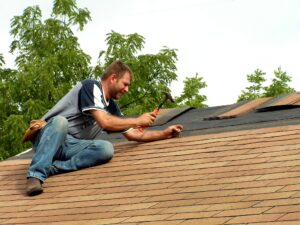
Now you’re ready for laying asphalt shingles. To do this, start laying down this first row, and half-hammer then in. This will help you see how it’s starting to look, which means you can move any shingles around if necessary—or keep going with the next row.
Then, you’ll want to lay the second row, with a partial shingle that’s around two-thirds of full-width. When nailing it down, put the nail right above the center of the shingle, so that it’s going through both rows.
With the following rows, you’ll put the nail down so that the slots in the already-nailed shingles, slightly covering them.
How to Shingle a Valley
It’s important to know how to shingle a valley, so you need to identify where they occur. A valley is the part of the roof where two parts of the roof meet, creating a little valley that water runs through when it’s raining.
As you can imagine, if shingles aren’t installed properly over a valley, this can cause flooding problems.
To shingle a valley, you’ll first want to place an ice and water shield where you’re going to install the shingles. This will offer additional protection to your roof, and it is definitely necessary if you live anywhere that gets a large amount of rain or snowfall.
Then, you’ll want to make an open valley. To do this, you’ll first shingle the lowest part of the valley, working your way up. Any joints should be at least six inches away from the center, since if they’re closer water might get through.
Roofing a Valley
Fortunately roofing a valley is far easier than shingling a valley. Simply use shingling ridges or three-tab shingles to roof a valley. If you’re installing ridge shingles, start at the bottom if the valley is a hip; otherwise, start at the top.
If you’re installing three-tab shingles, then cut each one into smaller pieces that are a third the size of their original size. This will make them easier to put in.
How to Roof a Ridge
Once you’ve prepared the shingles as above, you can find out how to roof a ridge. To do this, you’ll want to curve the smaller-sized shingles you’ve made to fit the ridge. Ensure this is done evenly, with the very middle of the shingle being where the edge of the ridge is.
Then, nail it in. For the next shingle, do the same thing, piling them on each other and making sure they’re distributed evenly. Keep going until you’ve reached the last part of the ridge.
When you get here, remember that the last shingle actually has the right length.
This will allow the water to pour off your roof, instead of accidentally running down the wall and causing a leak or flood. However, keep in mind that only the bottom of half of this last shingle should be visible.
Once you’ve taken all these steps, your roof should be fully shingled!
Questions and Answers
There are some common questions and answers related to shingling a roof. We’ll cover a few of these here.
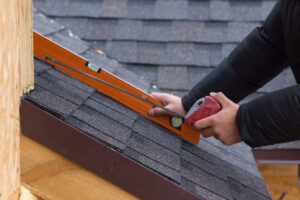
Q: How far should the shingles hang over the facia?
A: They should only hang over a little bit—for example, three-eighths of an inch.
Q: How do I know if I have to call in a professional to shingle my roof for me?
A: If you have a fear of heights, or if there’s been extensive damage to your roof, then it might be worth getting in touch with professionals.
Q: How can I get an accurate estimate of how much it would cost to hire a professional?
A: You’ll want to have a professional come by to check out your roof. Once they inspect damage and look at how much area has to be covered, they can give you an estimate. Don’t forget to ask if they charge hourly, because if they do, you should ask for an estimate of how many work hours they expect to put in.
Related Articles
We’ve also got some related articles to this article. If you have any additional questions about how to shingle a roof, or need to know more about roof repair, we’re the experts here at Hulsey Roofing Co.
Check out our contact us page to learn more.