Planning is an important part of any DIY project.
The roof of your home is a major structural component. Most homeowners will need to replace their roof at least once.
Replacing your roof is a considerable financial investment. However, it’s also important to invest your time in the form of research.
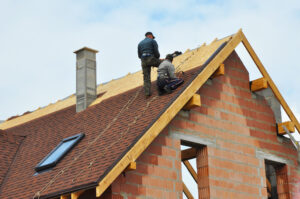
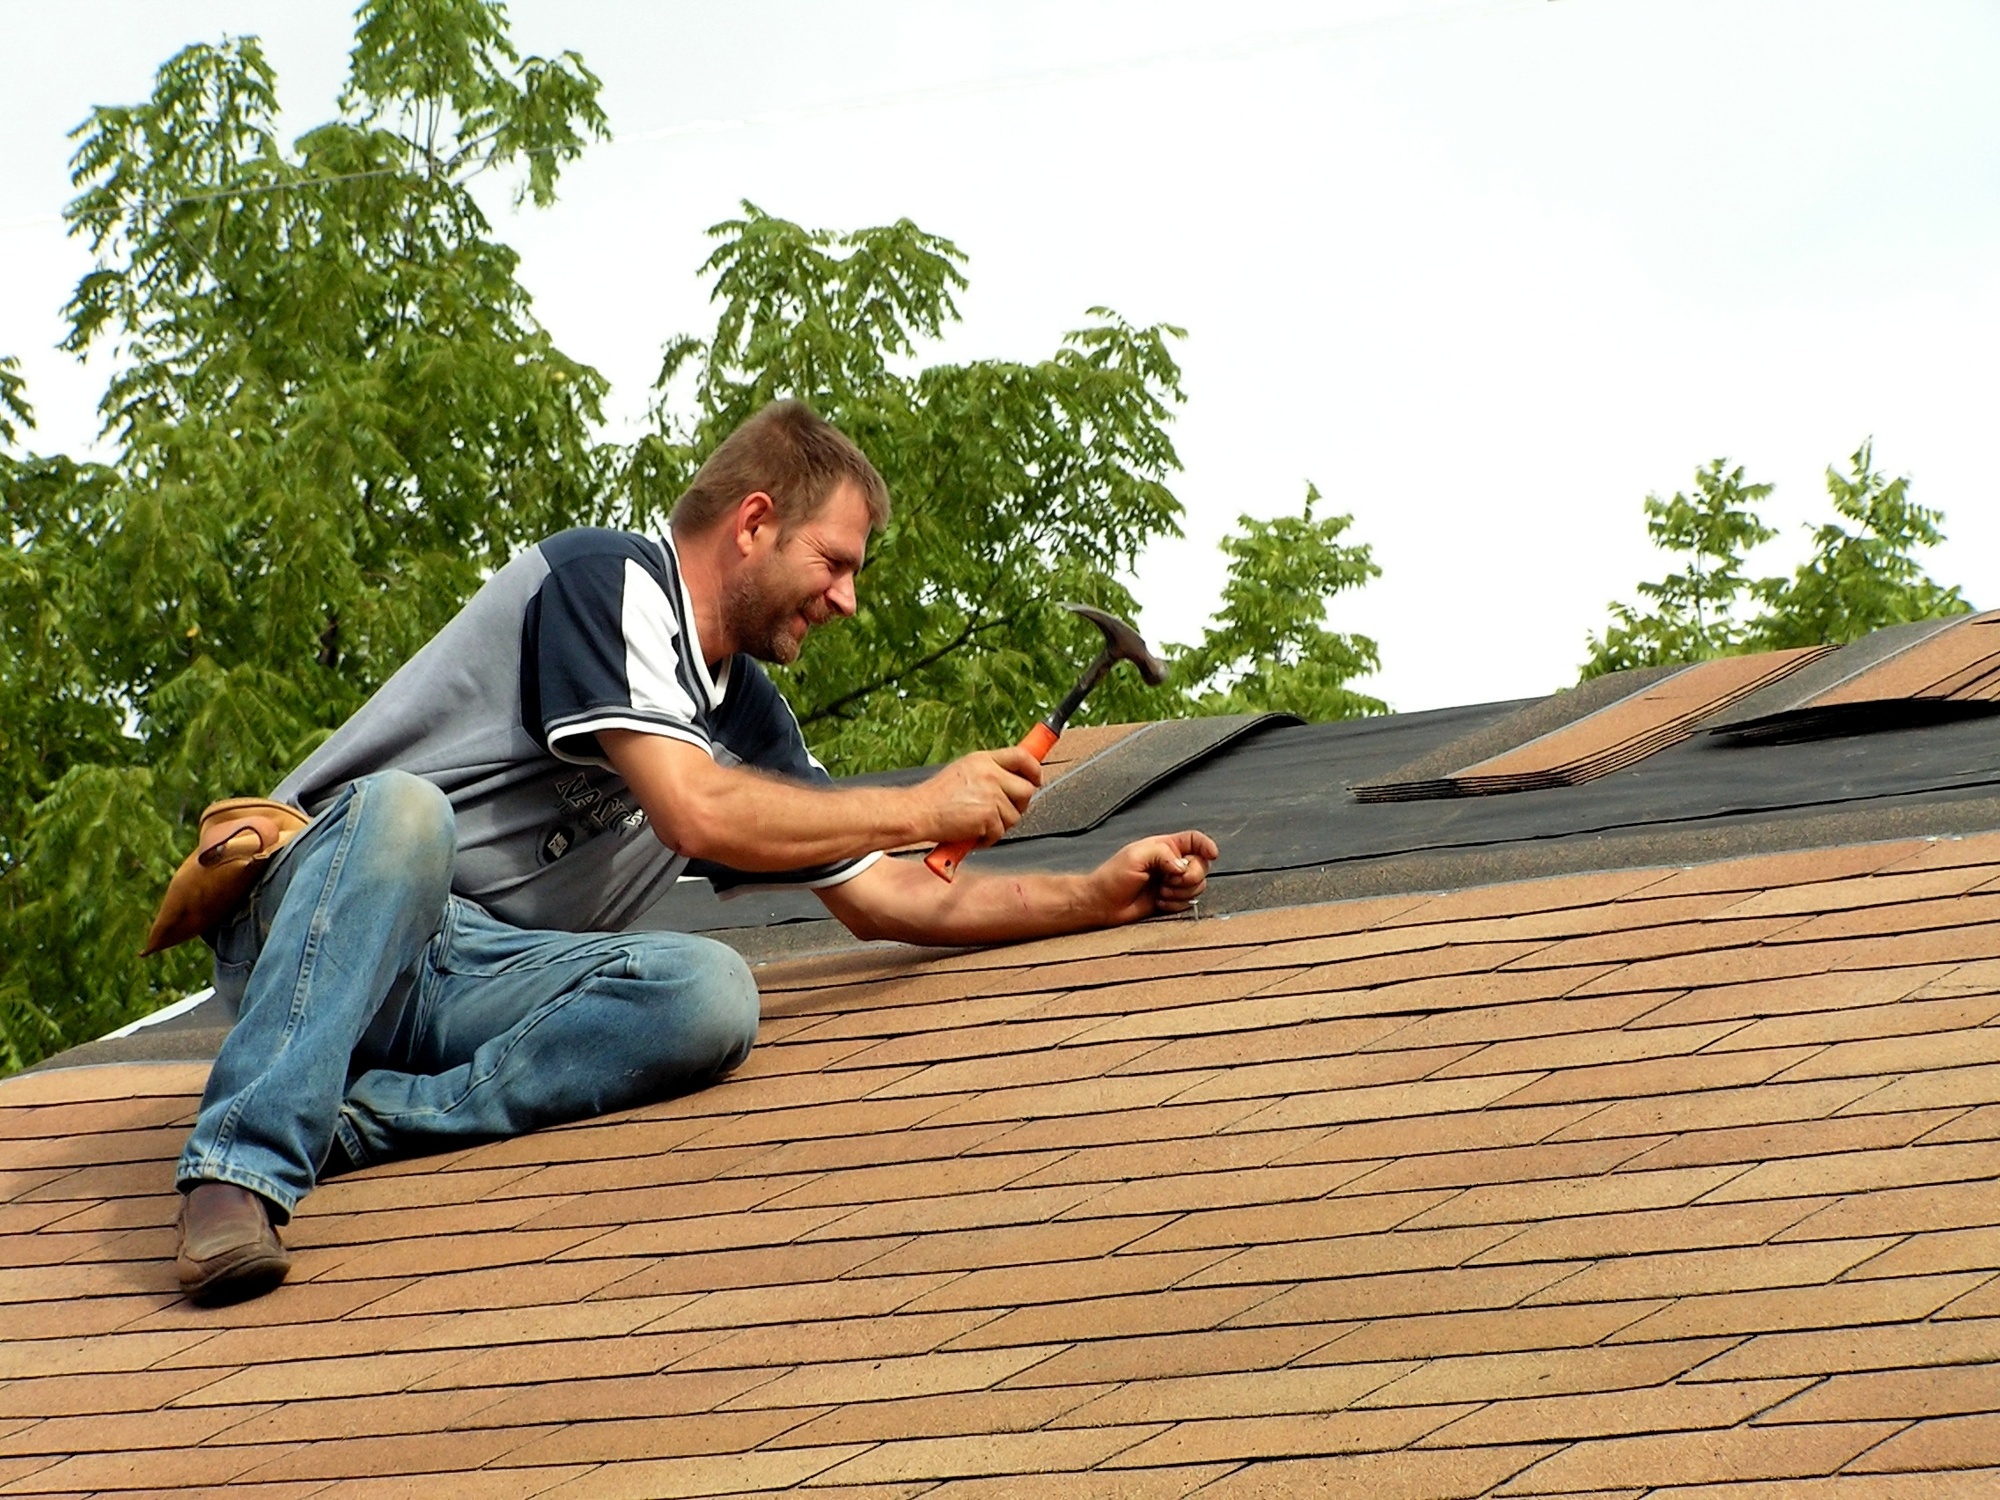
You can’t afford to make mistakes when installing DIY roofing. In most cases, you’re better off hiring a professional for the job.
However, you may want to consider the possibility of repairing your roof to save money. As a consequence, the following recommendations can prove useful in helping you determine how much material you may need.
Keep reading to learn more about how to measure the roof with new shingles.
Determining How Many Roof Shingles You Need for DIY roofing
Next, you’re going to need to work out the overall square footage of your roof. To find this detail, you need to calculate the length and width of each plane on your house. You’ll still need to weigh the roofing dormers as you make the calculations.
When you have your dimensions, you will be able to multiply the lengths times the widths. Next, you’re going to put all your equations together.
Imagine, for example, that you’ve got a shed roof with a single plane. In that case, you’d multiply the length times the width for the total square footage.
However, most people have a gable roof, which has two planes. In this case, you’d multiply the length times the width of the first plane. Then, you’d multiply the length times the width of the second plane.
Now, you’ll add the resulting figures together. If you have a different kind of roof, you’ll need to repeat this process for each plane.
The surface of a roof is measured in units called “squares.” A roofing square equals 100 square feet of surface area.
Imagine, for instance, that you have a gable roof with a total area of 24,000 square feet. In that case, you’d divide 24,000 by 100.
This computation will give you a figure of 240. What that means is that your gable roof measures 240 squares.
What if You Have a Steep Roof?
If you have a steep roof, you may want to use an alternate measuring approach that is simpler than scaling up on the roof. If that is the case, one of the following two approaches can support.
In the first approach, you can measure the length of the roof by calculating the exterior walls plus the overhang. You will consider this calculation for the duration of the house parallel to the roof ridge.
Now, you’re going to have to put a line over the ridge. First, mark the rope where each eve meets.
This calculation will give you the width of your screen. You would need to replicate this portion of the calculation for each segment of the roof with a horizontal ridge.
Yet Another Way to Measure for Shingles
The second measurement method involves using a formula. For this method, you’ll need to do calculations that will tell you what’s your roof slope. With the formula, you’ll figure out the roof area using the length and span of the roof as well as the roof pitch.
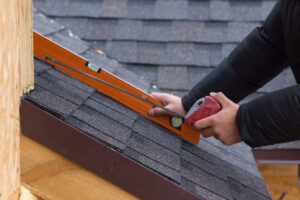
You may use a pitch gauge to calculate the pitch of the roof. You’ll find a pitch gauge in most home improvement shops. Alternatively, you can download a pitch gauge app on your mobile.
You would need to estimate the length of the roof surface, and its overhangs, for this calculation. You will estimate the span of the roof, plus the overhang.
Now, you must have multiplied the length of the roof by the span. The answer is going to send you the plane area.
Next, you’ll need to use a chart to calculate the full area of the roof. The chart below will provide you with the slope correction factor. The formula is as follows:
(Total Roof Area) – (Plane Area) x (Correction Factor [See Chart]) = Roof Area
SLOPE (Pitch) PLANE (Approx. Angle) CORRECTION FACTOR (x Projection Length)
3:12 14 1.031
4:12 18 1.054
5:12 23 1.083
6:12 27 1.118
7:12 30 1.158
8:12 34 1.202
9:12 37 1.25
10:12 40 1.302
11:12 43 1.357
12:12 45 1.414
16:12 53 1.667
18:12 56 1.803
24:12 63 2.236
Your final computation will provide you with the area you need to cover.
Selecting Nails for Roofing
You’ll also need to consider the other materials that you’ll need. For example, you’ll also need to estimate how many nails you need for the project.
Usually, for much of the roof, you will require about four nails per shingle. However, for each starter shingle, you’ll need five nails.
This estimate is measured at 320 nails per square roof. However, for starter shingles, you’ll need to average the number of starter shingles you’ll need by five to find out how many nails you’ll need.
When you estimate how many nails you’re going to need, you’ll still need to take those considerations into consideration. For example, you may be living in a high wind environment. If that is the case, you would need more than the normal number of nails for installation.
Conversely, you may have a mansard roof. In this case, you’ll need six nails for each shingle.
With a mansard roof, you’ll need 480 nails per square. This estimate assumes that you’ll install 80 shingles for each roofing square.
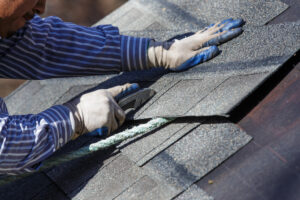
Other kinds of shingles may require more or fewer nails. You’ll need to review the installation instructions to learn the correct nailing pattern for your shingles.
Choosing Roof Underlayment
It is pretty easy to predict how much underlay you would need if you know the square footage of your roof. However, you’re going to need to work out what sort of underlay you want to use.
The underlay is a defensive shield. You’re going to mount it between the shingles and the roof surface.
Underlaying tends to improve the life of your roof. It also decreases the number of fixes that you will need to do overtime.
Often, manufacturers make underlayment using organic felt. They saturate the felt with asphalt.
The asphalt makes the underlayment more durable. However, it also adds to the cost of the material.
A lower-priced underlayment has less asphalt. However, it also has less quality.
If you have a roof with a steep slope, felt underlayment is a good material for your needs. Steep roofs are less likely to retain moisture.
You may also use a self-sealing, rubberized asphalt underlay. This kind of underlay is versatile. It occupies the gaps around the nails and the staples. Rubberized underlay is suitable for hot climates.
Finally, you would like to use synthetic underlay. Synthetic underlay is common roofing material.
It helps guard from elements such as frost, rain and wind. It also works well with shingles and low slope roofs.
Planning for Waste
If you have a gable roof with a length that is divisible by three, you would most likely produce no waste during construction. This kind of roof is very rare. The other homeowners are going to have to remove the shingles at the rakes for a proper suit.
This trim job is going to generate waste. In addition, the trim job you do with any obstruction would also lead to pollution. These obstructions can include a chimney, a vent, a roof of a hip, or a valley.
If you’re buying laminated shingles, you might find that you’re producing less waste. Even, it’s impossible to find out how much shingles you can save.
Accordingly, it’s a good idea to order two extra bundles of shingles either way. If you don’t use them, you can return them once you’ve completed the project.
Otherwise, you should estimate that you’ll need an extra 1% in shingles to account for waste with a standard roof. If you have a complex roof with open valleys, you may want to add five or more percent. In practice, however, there’s no way to estimate waste accurately.
For instance, shingles often get broken. If you shift shingles on a steep roof, for example, it’s likely that some of them will fall down. If they do, they’re more likely to crash to the ground and break.
You may also generate the waste by nailing the shingle poorly. If so, you’re going to rip it up when you delete it. Again, it’s a smart idea to buy a few additional shingles to prepare for these cases.
Sizing Up a DIY Roofing Job
A new roof can lower your energy bill. It will also help to keep wind and precipitation out of your home.
You may want to install a roof yourself to save money. In the long run, however, you’ll typically save more by having your roof installed professionally.
If you need to save money, you might ask your contractor if they’re willing to make a compromise. You could help to reduce the cost of installation by doing the tear-off.
In the summertime, roofing contractors are very busy. For this reason, they may gladly agree to reduce the price if you remove the old roof before they start the job.
The replacement of the old roof involves mostly muscle and sweat. However, the construction of a new roof requires a great deal of expertise.
In addition, the work needs to go easily. It’s important to leave the bare roof open to the elements as short as possible. This thing is a challenging job for anyone with no expertise in roofing.
Finally, the job on the roof is dangerous. Before you start the build, you can see how you feel standing on your roof. If your stomach continues to churn as you look at the field, you’re probably better off finding a specialist for the whole job.
Trust Us for a Top-Quality Roof Installation
Now you know more about how to measure roof shingles for DIY roofing. If you’d rather hire a contractor, however, you’ll need an expert who’ll do a top-notch job.
Hulsey Roofing has installed exceptional roofs for more than 40 years. For this reason, we’re a leading roof installation and repair service in Missouri.
We understand the importance of quality workmanship and structural integrity. Accordingly, we only use the best materials in the business.
Furthermore, our staff members are highly trained. We’ll always make sure that we do the job right the first time.
Contact Hulsey Roofing today at (314) 846-7663 or connect with us online for a free estimate.