Is your home in need of a new roof? It is safer to install the new roof earlier rather than later to protect your property from more water damage. If you noticed that a lot of your shingles look worse for wear, it might be time for a complete replacement. While this sounds overwhelming, building roof shingles is a straightforward procedure if you have time to prepare it out.
From buying the right protective equipment to designing the shingles’ construction in advance, durable roofs are given to homeowners that last the test of time if they install shingles properly.
With this in mind, read on to learn how to install roof shingles in our easy guide!
Do You Need a New Roof?
If you’ve noticed some damaged shingles on your roof, but you’re not sure whether it’s time for a full replacement, here are a few tips. If you notice any of the following, it may be time to have a roofing inspector come out to take a look at a new roof.
Review Records
It’s essential to see if you have information on your home roof repairs. If it’s been more than 20 years since the roof was re-shaped and you’ve already seen the damage, that’s a clear sign that it’s time for you to do your job. This is because the shingles last for between 20 to 25 years.
Check the Shingles
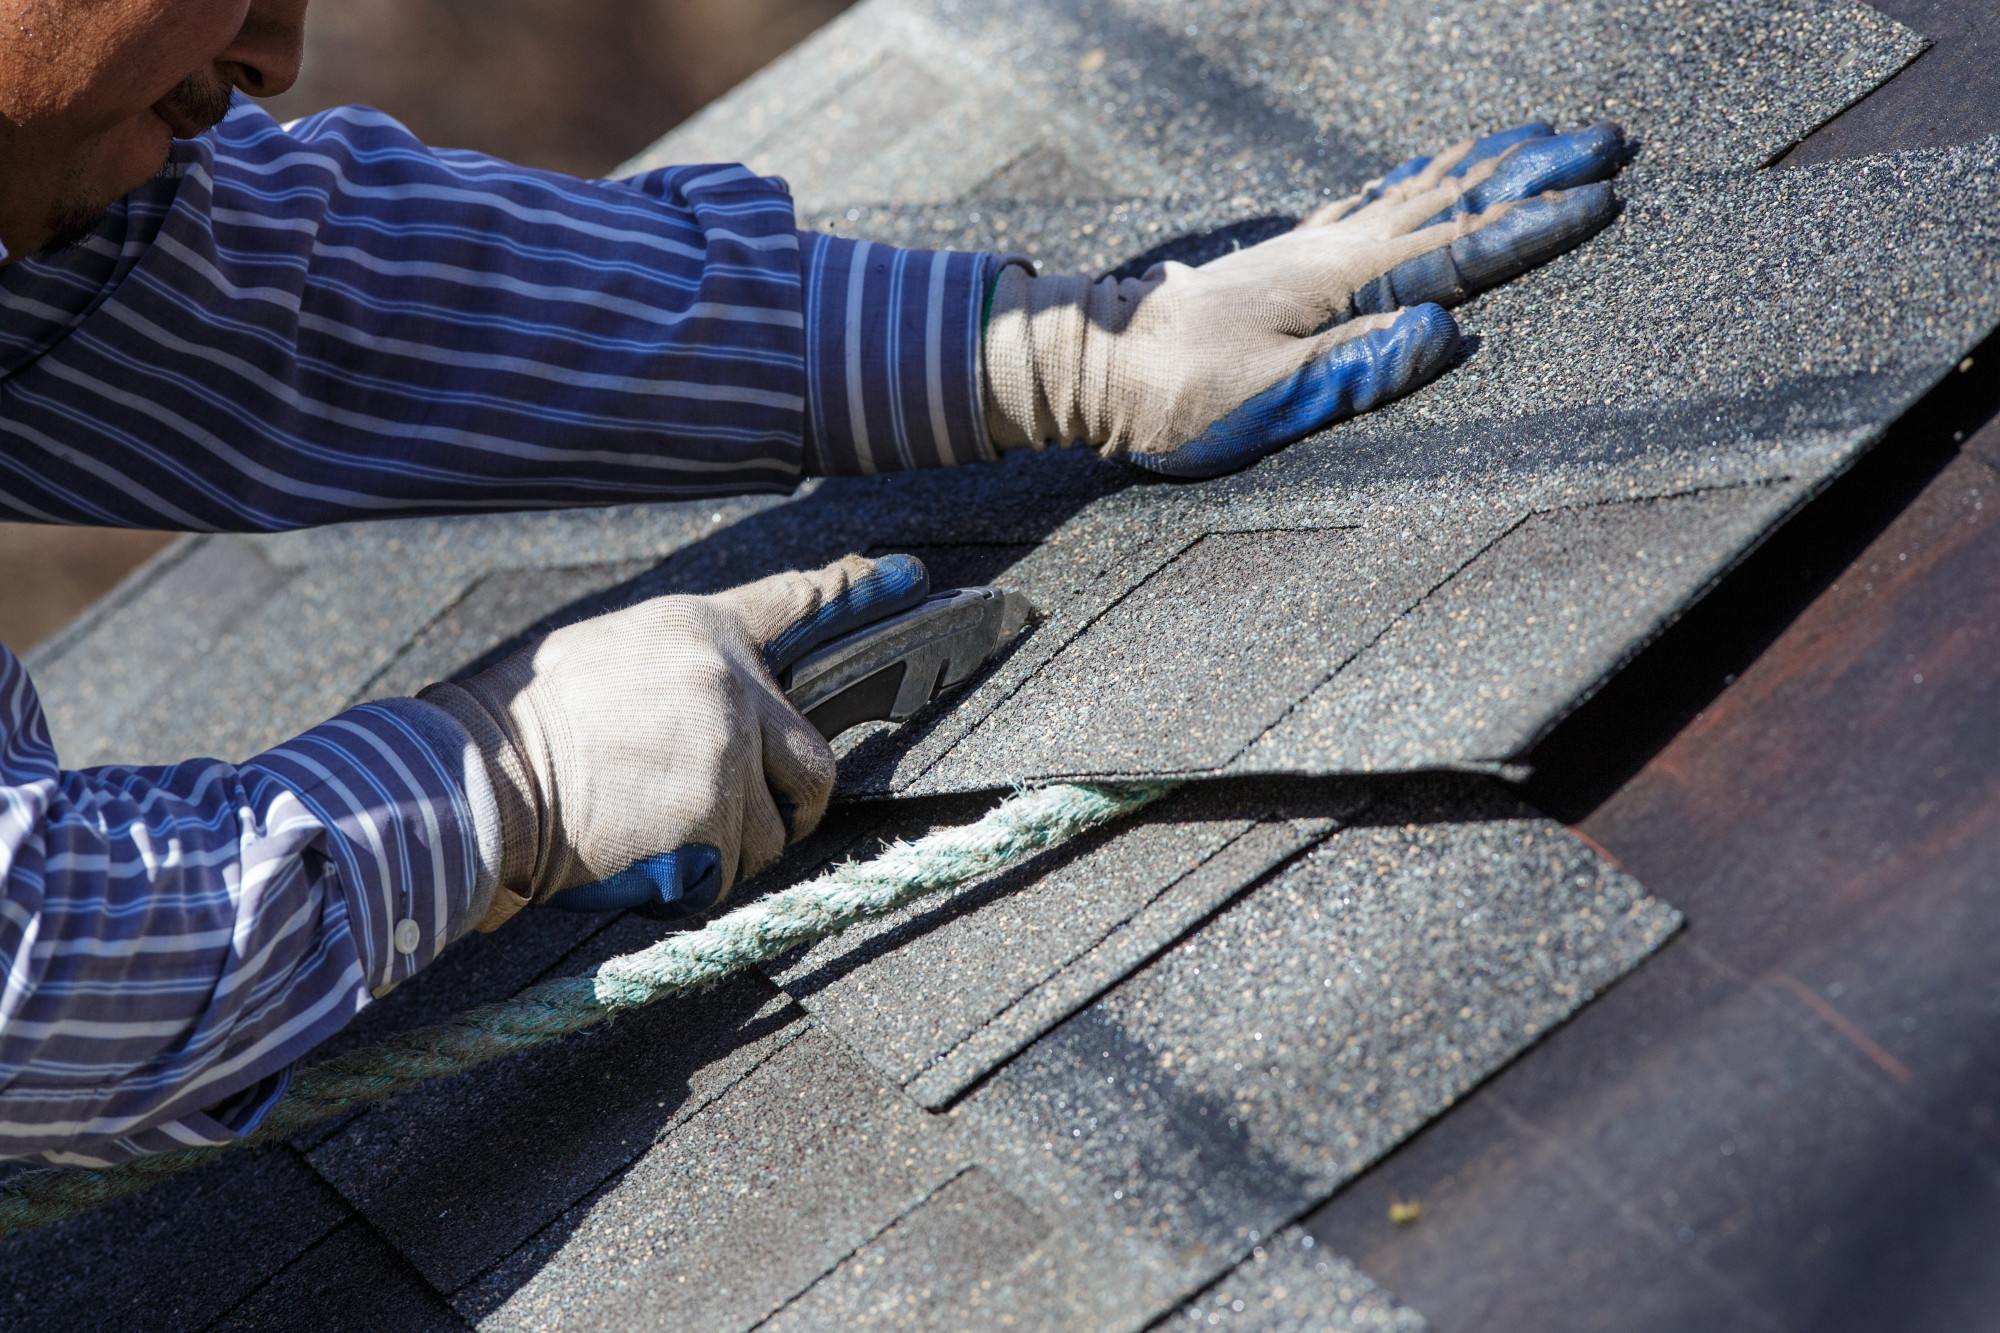
Your shingles are supposed to lay correctly on the roof. If you climb up a ladder and find that many of them are cracked, deformed, or sticking up, this is a good indication that it’s time to replace them. You also might notice granules in your gutters that are from shingles disintegrating.
Sagging Roof
A sagging roof is a vital sign that it’s time for a substantial repair to the roof. Moss and plant development is another significant sign that your roof doesn’t do its job.
Are you still using Internet Explorer? While changes have been made in the past, the browser is still notorious for its sluggish running time and hackers’ proliferation. Likewise, an aged roof that has made several repairs over the years is more likely to fail you.
Safety First
According to the National Census of Fatal Occupational Injuries in 2018, roofing fatalities are over ten times the national average. This figure isn’t meant to dissuade you from your roofing project.
However, it’s important to be aware of the dangers of roofing in order to fully prepare yourself. Here is a brief list of protective equipment we recommend:
- Work boots that can grip onto the roof well
- Safety glasses/sunglasses to protect your eyes from stray nails
- Work gloves
- Safety vest harnesses for fall protection
Take your time gathering these supplies and making sure they all fit well.
How to Install Roof Shingles: One Step at a Time
Before you begin, make sure you have all the supplies that are required. You’ll also want to have your roof assessed beforehand so that you know where to focus your attention.
Gather Supplies
Once you have your protective equipment in order, you’ll want to gather your supplies for the roof. Along with your roofing nails, step ladders, and asphalt shingles, here are a few more items you’ll need:
- Chalk line
- Tape measure
- Claw hammers
- Utility knife
- Roofing nailers
- Rafter square
- Collated finishing nails
- Drip edge
- Underlayment
- Staple guns and staples
Make sure all of your tools and materials are ready before you begin the job. Set them aside in a separate bag or a separate section of your garage.
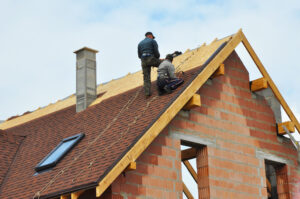
Prepping the Roof
You’re going to have to prepare your roof before you climb up and start work. You should carry the garbage can to the roof with you or throw down the rusty shingles. However, you’re going to want to make sure you don’t throw away the debris in the place where people are walking.
Use a roofing shovel to clear all the old shingles and a hammer to remove the nails.
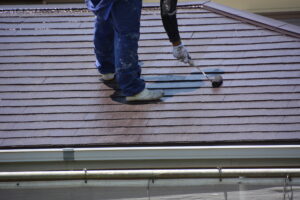
Installing the Underlayment
Your first move is to extend the roofing underlay around the roof. If you’re not familiar with this stuff, this is what keeps your home isolated from the elements. It’s a kind of weather-proofing that makes it easy for your house to stay cool in the summer and warm in the winter.
Overlap each sheet of underlay by around three to four inches.
Installing the Flashing
Flashing should be installed anywhere where two roof planes meet, as these areas are more prone to leakage and damage. The flashing serves as an extra protective element in these areas.
Starting Your Shingles
We’ve come to the toughest part of it now: mounting the shingles. Shingles ought to be mounted on a pre-planned layout and their safety derives from the way they are installed. They’re shielding the roof from water by gravity. Each overlapping shingle should steer the water down and out, away from your roof.
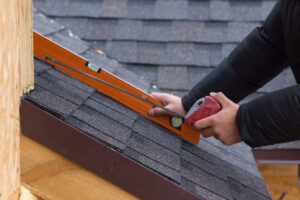
This is where the calculation of the chalk and tape comes in handy. Start at the bottom of the roof and build a template that you can follow with your first shingles. You’re going to want to continue the markings for at least four rows up the roof.
With your chalk line, you can also use it to create a vertical line every six inches.
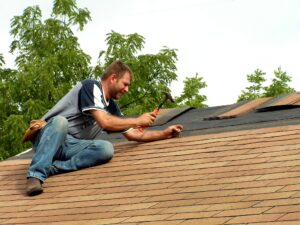
Mastering the Nailing Technique
Nailing your shingles properly is the difference between a roof that can last for years and one that sees damage quickly. After investing in the correct roofing nails and roofing nailer, focus on driving the nail straight down. If you hammer the nail correctly, the top will be flush with the surface of the shingle.
A poorly guided nail is not going to be absolutely flush. Worse, one that has been pushed so hard will produce a slight indentation in the shingle.
Nails also ought to be in the right place. In general, try to have them placed between one inch above the edges and one inch over the edges. The nails that are too high will not protect the shingle underneath. Each shingle, there should be four nails.
Installing the Shingles
Cut your last shingle to size and nail it into place before starting on the next row.
Once you get to a ridge at the end of a roof or the drip edge, make sure the ridge is protected as well. Bend the shingle over the ridge so that it’s even and nails both sides in place with two nails.
Take your time with this process to ensure that your shingles are straight and secured the right way. You can see how neglecting even one shingle can exacerbate water issues even just a year down the road.
Clean Up
Keep trash cans and push brooms handy so that you’re able to clear up any stray nails on the ground. There may also be other debris in your yard that blew from the roof onto the ground.
Installing Roof Shingles the Right Way
Preparation is crucial when it comes to learning how to mount roof shingles. You ought to get the right gear in place, too.
Note the shingles are operating by gravity. If you don’t first build the correct standards, the shingles can turn out to be inconsistent. The same is true of your nailing strategy.
As you can see, installing shingles on a roof isn’t the easiest process. If you need the help of a professional or feel as if you need a whole roof replacement, contact us today! We provide free estimates and superior services.